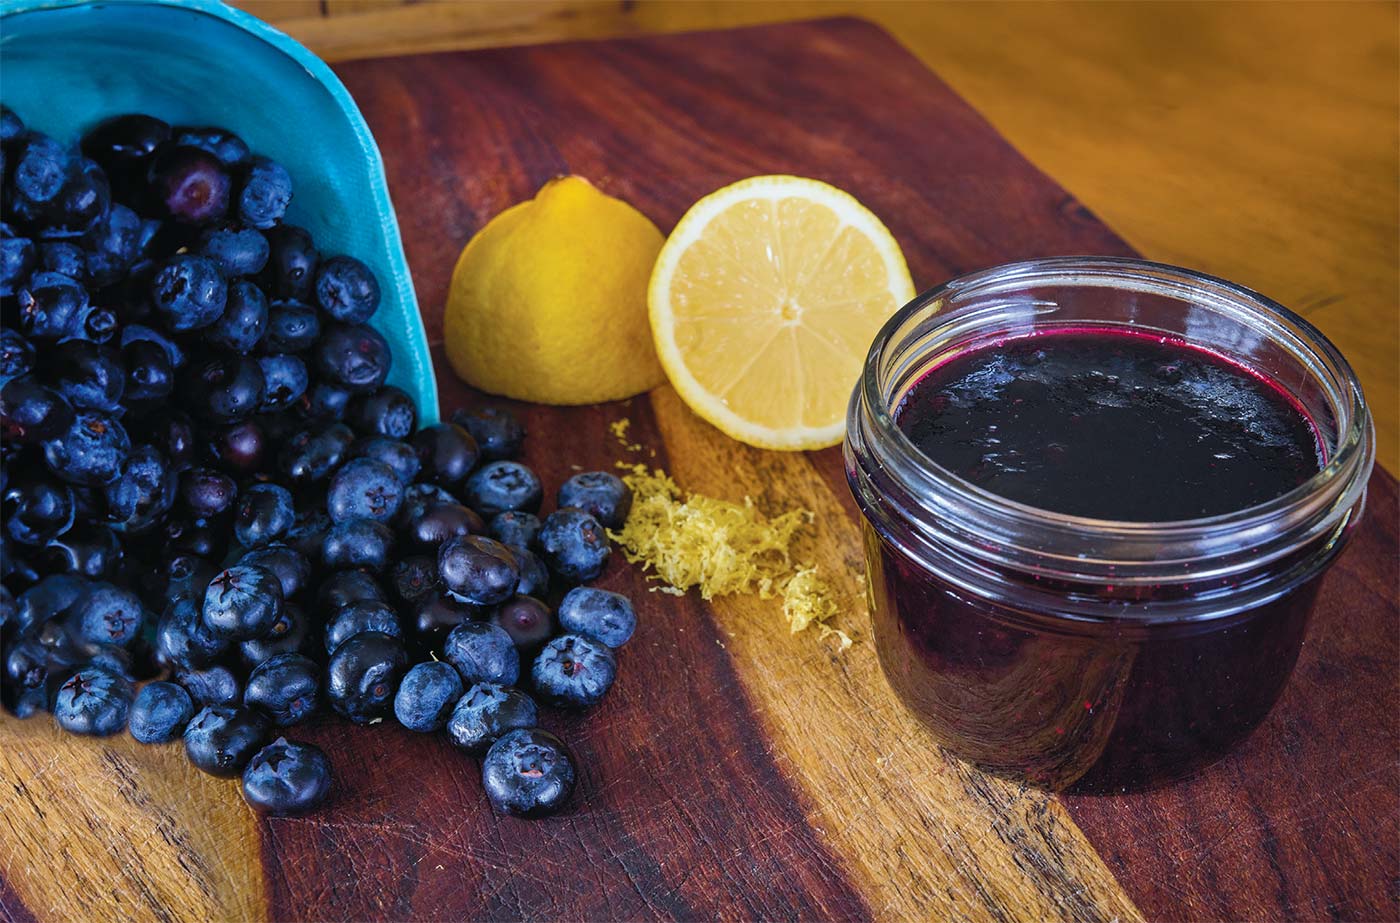
Small-Batch Blueberry Jam
PHOTOGRAPH BY JAY SANTANGELO
Ingredients
- 1½ pounds blueberries (680 g)
- 1¾ cups sugar (408 g)
- ½ teaspoon lemon zest
- Juice from ½ lemon
Instructions
- Combine blueberries and sugar in a large glass or ceramic bowl. Mash lightly to release some juices from the berries. Cover the bowl and place it in the refrigerator overnight or for up to 2 days.
- When you’re ready to make the jam, pull the bowl out of the fridge. Zest and juice the lemon and set aside.
- Pour fruit mixture and lemon juice into a 10- to 12-inch stainless-steel skillet, pot, or enameled cast-iron Dutch oven. Pick something that allows for more surface area on the heat, and bonus points for a pot with a base that’s smaller at the bottom than at the top since it helps guide evaporation faster. Turn up the heat to medium and cook for a few minutes to dissolve any remaining sugar granules.
- Turn up the heat to high and bring to a boil. Note the time. It will take around 10 minutes of rapid boiling for this volume of jam to reach a soft set. Use a potato masher (for chunkier preserves) or immersion blender (for a smoother jam) to smash or puree the berries as they heat up. Stir periodically to keep mixture from sticking to the bottom of the pan. Remove the pan from heat when you think it might be set. (See Bubble Watch section at right.)
- Test your set with the Frozen Spoon Test at right.)
- When the consistency of your jam is to your liking, add the lemon zest and gently swirl it in to combine without disturbing the jam too much.
- Ladle into glass jars and allow to cool to room temperature. Place jars in the refrigerator and eat or gift within 6 months.
Notes
There’s no need to hoard your berries since you can make jam with whatever volume of fruit you have. (It’s okay—and encouraged—to eat as many as possible fresh.) Weigh the fruit, and multiply the result by 60%, which is the minimum amount of sugar you’ll need to achieve a set. Add lemon juice and you’ll be well on your way in crafting micro batches of jam with any seasonal fruit.
The first step of macerating the berries is optional, but letting the fruit sit in sugar helps to pull more water out of the berries, and you’ll end up with a more vibrant-tasting jam. It’s also a nice way to spread out fruit preparation for other fruits that require a little more effort than berries.
If you’d like to water bath can these jars, prepare the sterilized jars in step 7, fill to ½-inch headspace, seal, and process for 10 minutes.
Bubble Watch: You can see when a jam is reaching a setting point by paying attention to the bubbles. They’ll start out small and frothy and will slowly get larger and glossier as the jam approaches a set. When they’re about dime-size, remove pot from heat and do your frozen spoon test. You can use a thermometer (to see when the temperature hits between 218 to 221°F), but I find the softest and most perfectly set jams are the by-product of keeping your eye on the bubbles.
Frozen Spoon Test: Since jams and other sweet preserves firm up and gel as they cool, the frozen spoon test is a great, simple way to see into the future and tangibly assess how the mixture will gel once cooled. To do the test, stick 4 or 5 metal teaspoons in the freezer on a plate before cooking your jam.
When it looks like the jam might be finished, remove the pot from the stove entirely and grab the plate of spoons from freezer. Quickly dip 1 of the spoons into the pot to scoop up some of the jam. Place spoon back on the plate and put it back in the freezer for a few minutes. Remove plate and tip the jammy spoon so the jam slides off, and notice the texture of the jam. This will be the consistency of your spread when it reaches room temperature. If it’s still runny or syrupy, return the pot to the heat and continue to cook. Retest by repeating these steps.